Adaptations
The WX11 and the WX5 are very well suited for people with reduced muscle strength or lung capacity. But that’s only part of the story. Often the instrument needs to be adapted to achieve a satisfactory result. Difficult to do? Not at all. A handyman can always be found. An adaptation can always be designed which will allow each participant to play the instrument in their own unique way.
Microphone stands
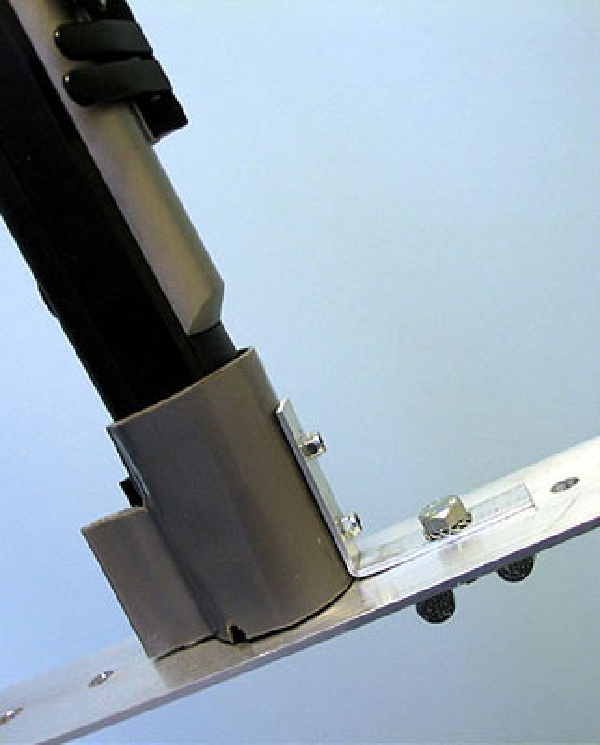
The most important adaptation is to allow the WX5 to be mounted on a microphone stand using a self-made adapter. There are various ways to do this. We’re using a rock-solid solution. The Technical Services department of the Rijndam rehabilitation centre have welded two metal flanges and a nut together which can be attached permanently to the instrument body.
This is a radical solution. The instrument needs to be taken apart, and four holes need to be drilled in the instrument body.
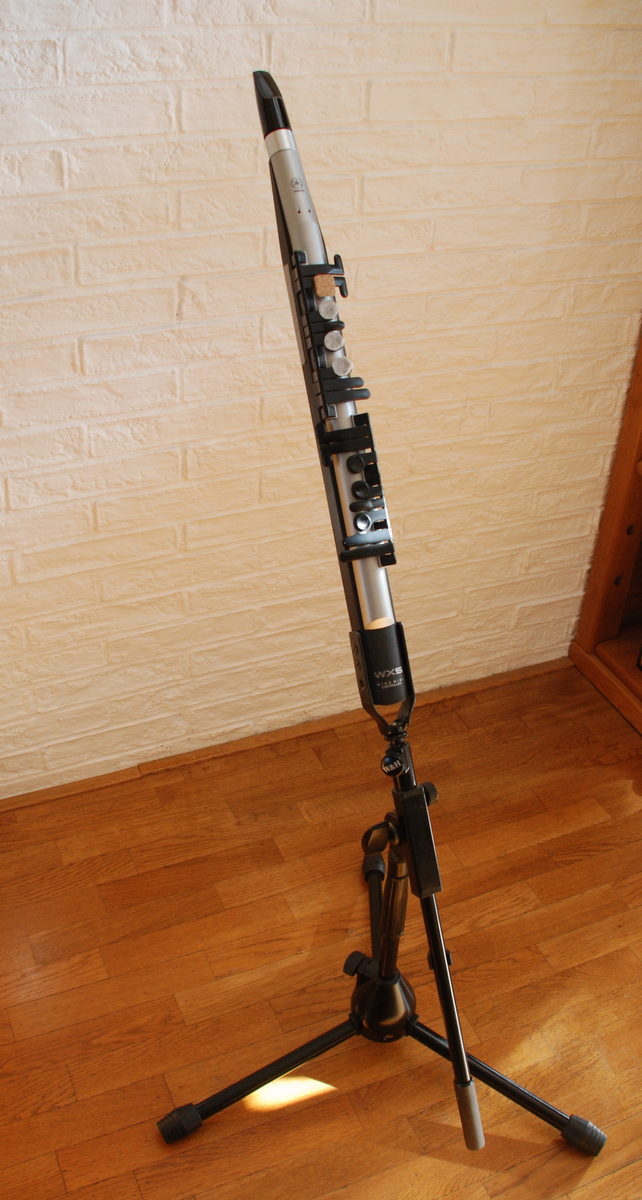
But there are also less drastic solutions. This is a D.I.Y. project from a family member of one of our participants. Very low microphone stands are available, which are convenient when the instrument needs to be placed between the legs of the player. Some musicians use their wheelchair tray as a support for their arms. In that case we use a regular stand which has been shortened somewhat (20-30 cm, or 8-12 inches).
Arm support
Often a musician requires extra arm support in order to be able to play the instrument.

Sometimes, just a few towels are sufficient. For Willem, we use material from the D.I.Y. store: a paint roller, some PVC tubing and a clamp.

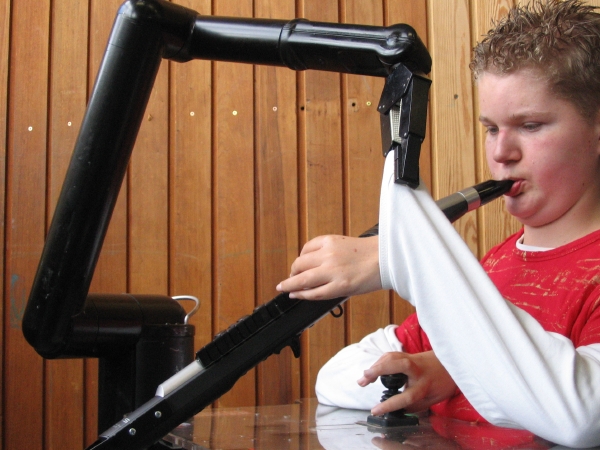
Some of our pupils have special equipment which works really well to help them play. Here, Donovan uses his robot arm (Exact Dynamics).
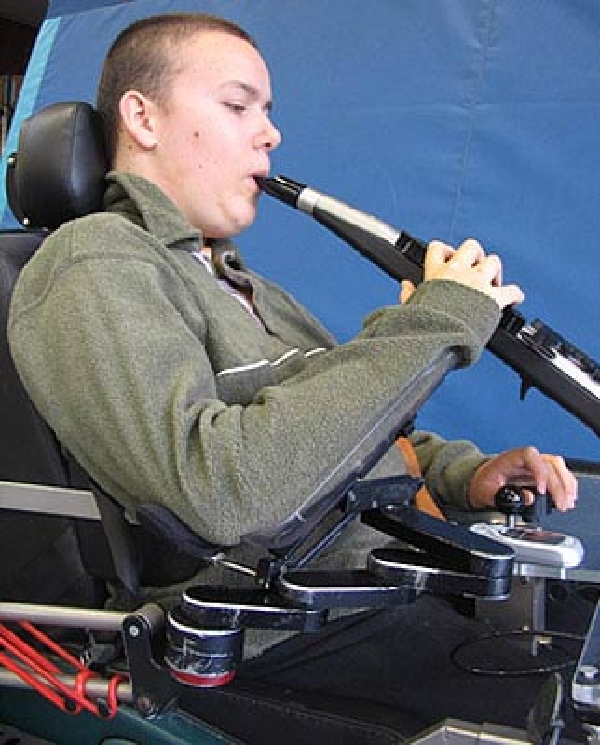
Avram makes use of his movable arm rest “Top”, from FOCAL.
Specific settings for the instrument and the sound module
An important setting for the WX5 and WX11 is sensitivity (software wind gain). This setting determines how much breath pressure is needed to produce a sound. There are five sensitivity levels, from Hard to Soft. These can be set with specific key combinations. For the WX5, the sensitivity setting shifts one stage towards “Hard” each time the Up 2 octave key is pressed – while holding the Setup key. Pressing the Down 2 octave key will shift wind gain towards “Soft”. A more detailed explanation can be found in the manual. Manuals can be found in the Download section of this site.
For the WX11 it’s slightly different. Pressing the Setup key and the Up 3 octave key will yield “Soft”. The Setup key and the Up 2 octave key gives “Medium Soft”, etc. For the WX11 too it’s advisable to check the manual.
On the VL70 there’s another important setting dealing with sensitivity. This is a parameter called “breath curve”. The best setting is neutral. The breath curve parameter only works when “breath mode = breath control” has been selected. The other mode, “breath mode = velocity” doesn’t have this setting. Whether to pick breath control or velocity depends on the instrument emulated. IE: for a trumpet breath control is the best option, whereas a guitar sound is best played with breath mode set to velocity.
We’re using the following settings on the WX5. All DIP switches are flipped to the left, except “fing”. This ensures that recorder fingering is used.
“Wind gain” and “Wind zero” are very important too! They can be adjusted with a small screwdriver. If too much breath pressure is required to produce a sound, these settings may need to be adjusted.
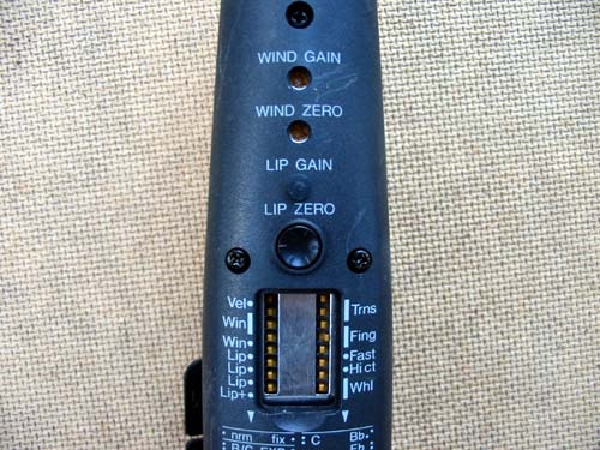
The WX5 comes with two different mouthpieces. We prefer the recorder mouthpiece. The reed mouthpiece is more difficult to use, but it will allow the player to add e.g. vibrato.
It can be quite tricky to correctly set the WX5. This is because of the cantilever – a small metal sensor present in the mouthpiece. Sometimes the instrument gets off-key because of it. Fortunately, it’s easy to see this in the VL70 display. Switching it off and on again usually takes care of this.

The upper display shows a properly tuned instrument.
Other useful aids
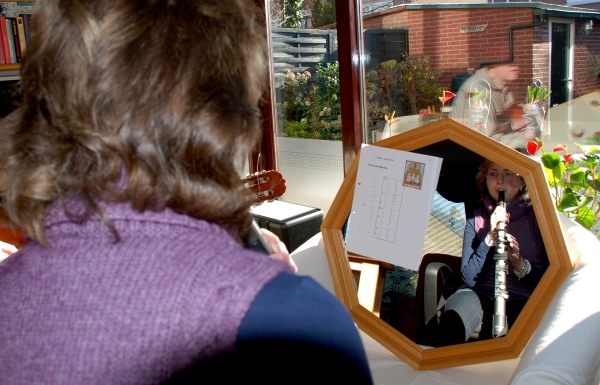
Evelien has insufficient feeling in her fingertips. She plays in front of a mirror. This way, she can see if her fingers are pushing the right keys.
Another aid is the use of pieces of felt and cork on the keys she’s using. This enlarges the surface area of the keys, and prevents her fingers from slipping off. On the back side, the octave keys have been shielded with a piece of PVC.
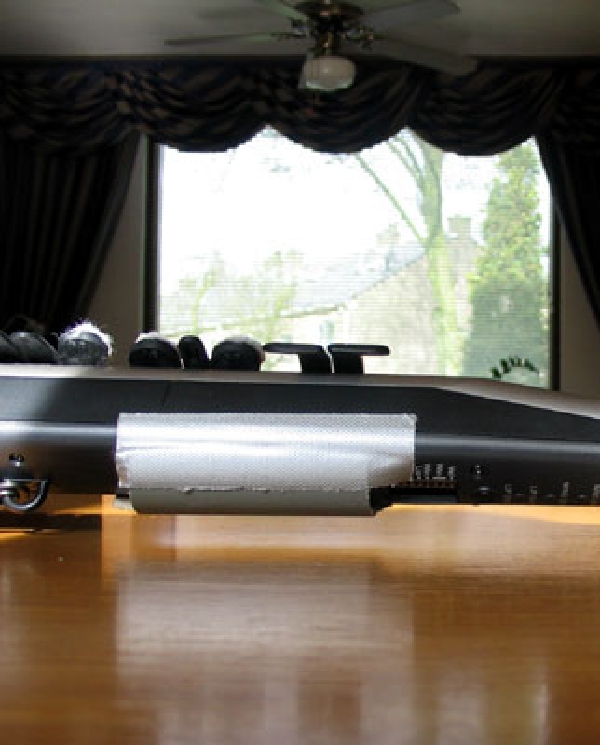
Sometimes we use a straw instead of the original mouth piece. The straw ensures the proper distance and angle to allow playing. Recently we’ve found an even better solution. The Endamed Corporation is sponsoring us and they have provided various parts used in artificial respiration equipment. These fit snugly into the instrument and are an excellent alternative to the existing mouthpieces.
Adaptations for the Magic Flute
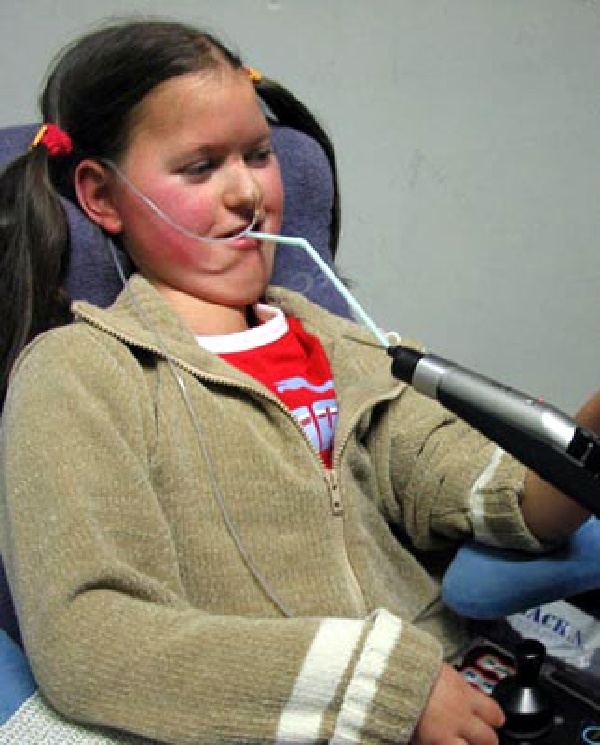
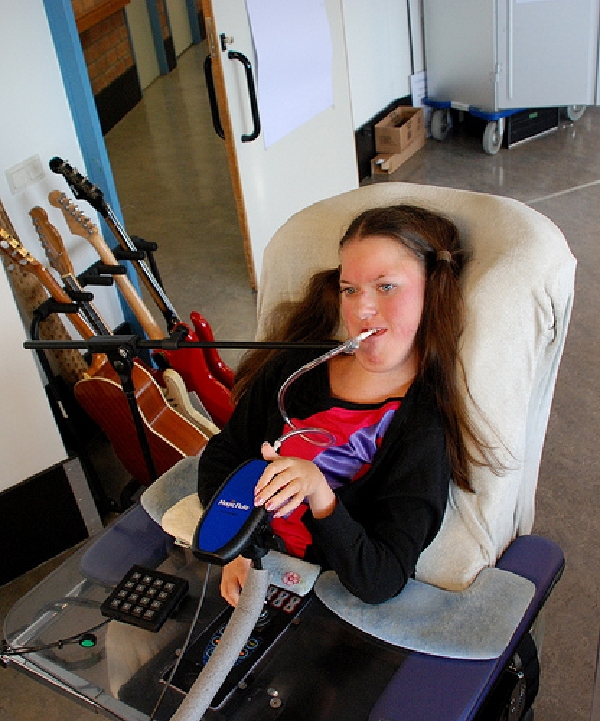
Marleen used to play the WX5, but she recently switched to the Magic Flute. She’s using a clever trick. Marleen can’t move her head enough to play the Magic Flute. Instead, she uses her hand to move the flute. Maike Hinz from Germany came up with this idea. Thanks Maike!
Other adaptations have been thought of as well. The Magic Flute can be mounted easily on a microphone stand, which is very convenient when playing in a band.
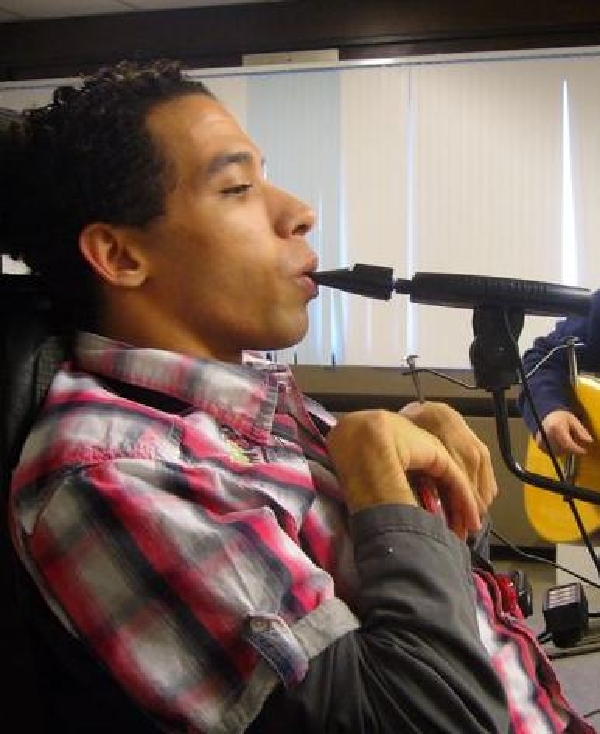
Players with cerebral palsy often benefit from a larger mouthpiece. The photo shows Ruben Hoeksema, owner of the Hoekstudio sound studio.

Another useful aid is the Magic Flute Stop. This ensures that the flute can’t turn over – out of reach of the user. The photo shows Iscar Boom of the First Aid Band.